Floating Shelf DIY Installation: Step-by-Step Guide to Add Style
Why Floating Shelf DIY Installation is the Perfect Choice
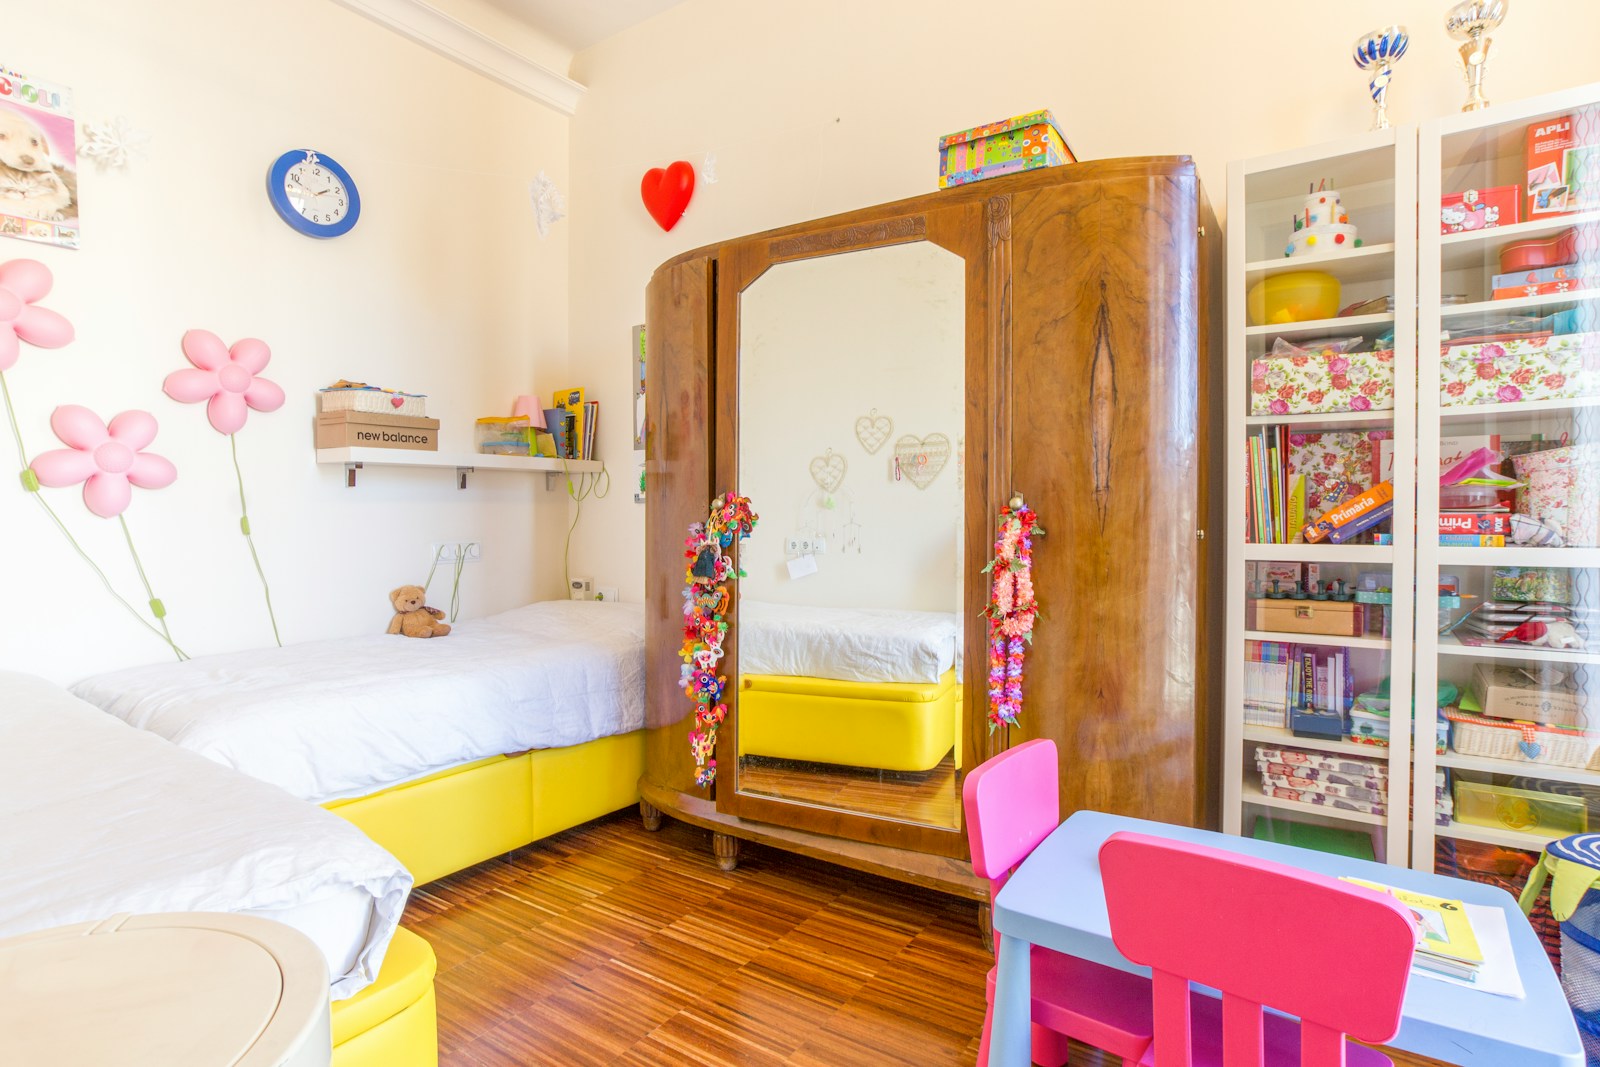
Floating shelf DIY installation is one of the simplest ways to add both style and function to your home. Instead of bulky furniture that takes up valuable floor space, these sleek shelves sit directly on your walls, making rooms feel larger and more organized. Whether you live in a small apartment or a spacious home, floating shelves give you the freedom to display books, décor, and everyday essentials while keeping your space neat.
The best part? With the right floating wall shelf kit, you don’t need to be a professional carpenter to get results that look polished and modern.
Choosing the Right Floating Wall Shelf Kit
Before starting your floating shelf DIY installation, it’s important to choose a high-quality kit. The one we recommend includes everything you need: brackets, screws, anchors, and clear instructions.
When shopping, consider these factors:
- Weight capacity: Make sure the shelf can support what you plan to place on it.
- Material: Wood shelves often bring warmth, while metal or laminate give a modern touch.
- Size: Measure your wall space so the shelf looks balanced.
A great kit like this floating wall shelf kit ensures that your installation is smooth and secure.
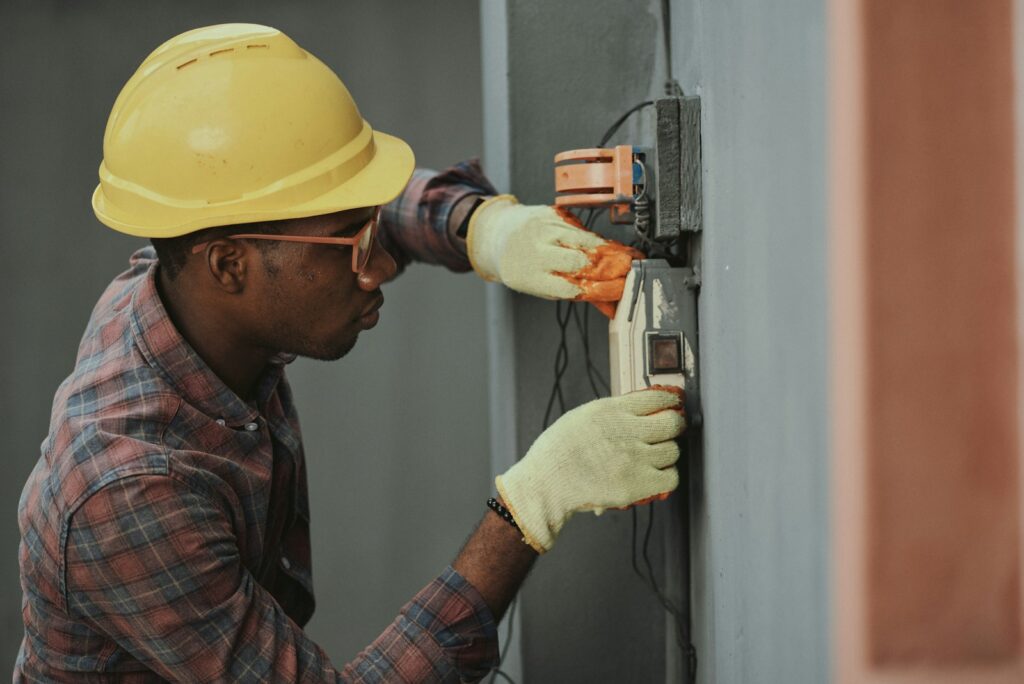
Tools You’ll Need for Floating Shelf DIY Installation
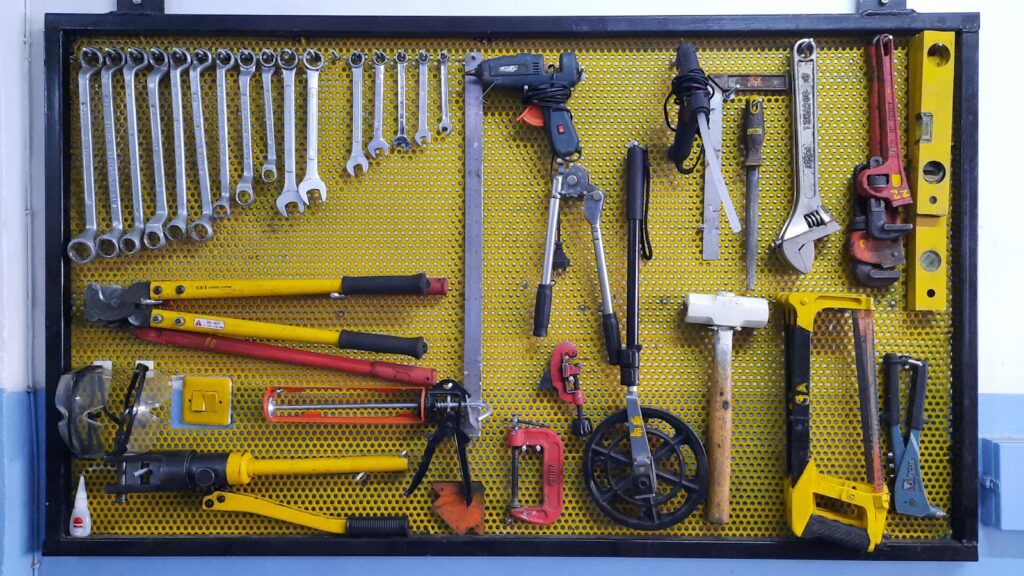
To complete your project, gather a few basic tools. Most DIY girlies already have these around:
- Drill (a cordless drill makes it super easy)
- Level
- Stud finder
- Tape measure
- Pencil
Having your tools ready makes the floating shelf DIY installation quicker and less stressful.
Step 1: Measure and Mark the Wall
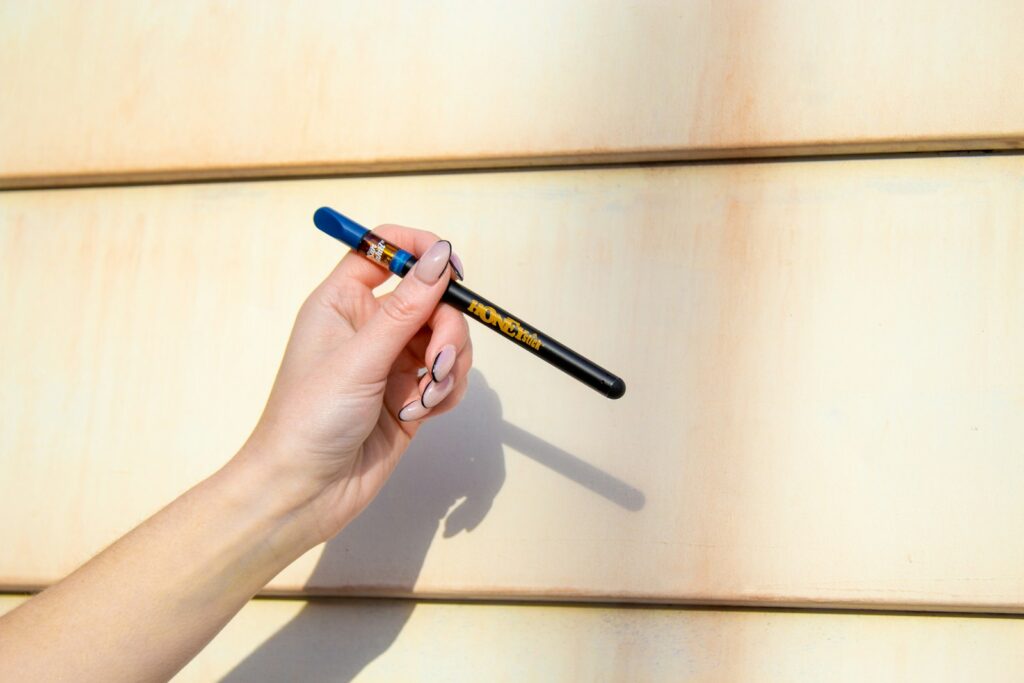
Start by holding your shelf against the wall where you want it. Use a level to ensure it’s straight, then mark lightly with a pencil.
Tip: Consider spacing if you plan to install multiple shelves. Equal distances create a clean, intentional look.
This planning step prevents mistakes that are hard to fix later.
Step 2: Locate Wall Studs for Floating Shelf DIY Installation
Strong floating shelf DIY installation relies on wall studs. Use a stud finder to locate them and mark the spots.
Why studs matter: shelves anchored into drywall alone can sag or fall, especially if you plan to display heavy items like books or framed art. Anchoring into studs keeps everything secure.
Step 3: Drill Pilot Holes
Once you’ve marked your stud positions, use your drill to create pilot holes. This step helps the screws go in smoothly and prevents wood splitting.
Tip: Always double-check that your holes line up perfectly with your shelf brackets.
Step 4: Attach the Brackets
Your floating wall shelf kit comes with sturdy brackets designed to stay hidden once the shelf is in place. Secure them to the wall using screws and anchors if needed.
Use the level again at this stage — brackets must be perfectly straight for the shelf to sit flush.
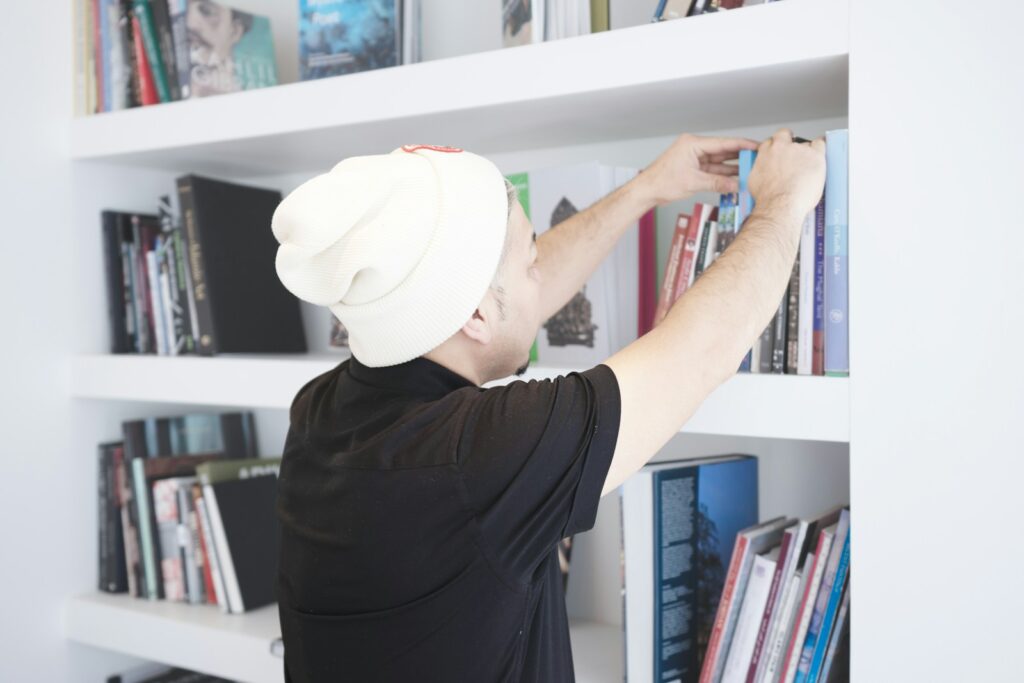
Step 5: Slide the Shelf into Place
Now the fun part — slide the shelf onto the mounted brackets. Most kits have a locking mechanism or tight fit to keep shelves from shifting.
Stand back and admire your work. You just completed a floating shelf DIY installation that looks like it came straight out of a home design magazine.
Styling Your Floating Shelves
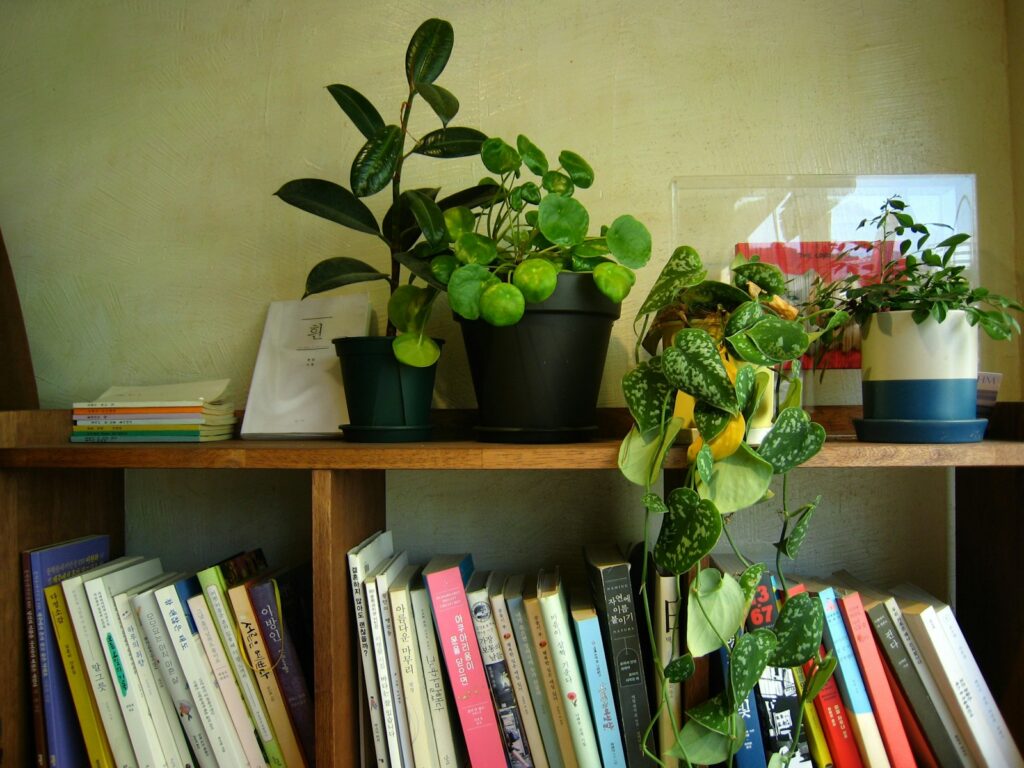
Installing is only half the fun. Decorating your new shelves brings your personality into the room.
- Books and plants: A mix of stacked books and small greenery keeps the look balanced.
- Framed photos: Add personal touches without crowding.
- Minimalist décor: For a modern vibe, keep items simple and neutral.
For inspiration, check out HGTV’s floating shelf styling ideas.
Benefits of Floating Shelf DIY Installation
Besides saving space, here are a few reasons to love your new shelves:
- Easy to Clean – No bulky furniture legs to move around.
- Customizable – Install one, three, or even a full wall of shelves.
- Affordable Upgrade – Much cheaper than new cabinets or large furniture.
- Adds Value – Stylish upgrades can make your home feel more modern and appealing.
If you want more storage hacks, see these small space organizing tips.
Safety Tips for Floating Shelf DIY Installation
Safety always comes first. Follow these quick tips:
- Don’t overload shelves beyond their weight capacity.
- Use proper anchors for drywall if studs aren’t available.
- Keep power cords and tools away from children during installation.
By following these steps, your shelves will not only look great but last for years.
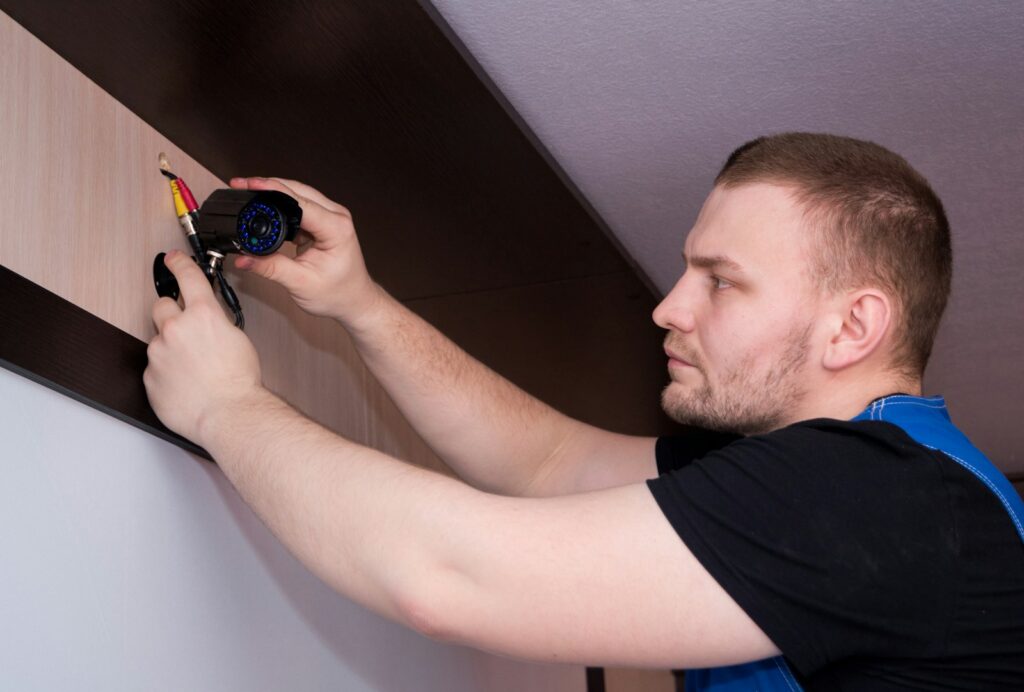
When to Call a Professional
Most floating shelf DIY installation projects are simple. However, if your walls are made of concrete, brick, or plaster, you may want a handyman’s help.
But for drywall and studs? This project is the perfect weekend DIY.
Final Thoughts: Elevate Your Space with Floating Shelves

Floating shelf DIY installation is the perfect blend of style and function. With a reliable floating wall shelf kit, you can transform any blank wall into a stunning display while creating extra storage.
It doesn’t take much time, but the results will make your space feel more polished and organized. Whether you’re a first-time DIYer or a seasoned pro, this is a project worth trying.
So grab your tools, put on your playlist, and get ready to enjoy your stylish new shelves.